
Running simulations on OSBv1#
It is possible to run simulations on OSBv1 directly from your browser, without installing any additional software.
Introduction#
To run simulations with a model, you must be logged in, and you must first save a local copy to your OSB workspace (“persist the model”). To do this click the Star icon:

Then open the Experiments tab at the bottom of the screen. A template experiment exists by default, and additional experiments may be added with the + button. Clicking on an experiment expands it to show more details.
If you simply wish to record all membrane potentials, membrane potentials at the soma, or Ca2+ concentrations, hit the Run menu at the top of the screen and select Run Active Experiment.
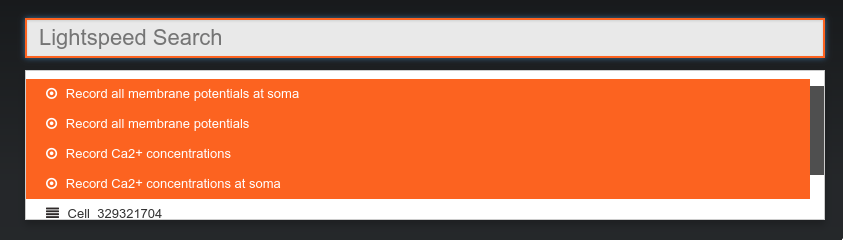
After setting the parameters (see below for advice on simulators), hit Submit. If no variables have been selected you will be presented with shortcut options:
After choosing an option, you should see the status of your experiment change to queued (blue circle) and then to running (yellow circle). Experiments will continue to run if the browser is closed.
Finally the experiment status should change to completed (green circle) – you can then use the Results menu to plot recorded state variables, replay the simulation with coloured morphologies, etc.
For more fine grained control of state variable recording, parameter variation, and result plotting, the control panel is your friend. The control panel can be opened with the button in the left hand control panel. There are three primary views: Visual Objects, State Variables, and Parameters. For simulations we are interested in the latter two.
In the State Variables and Parameter views there are three basic filter levels. From right to left, you may view and plot results (State Variables) or view parameters from experiments in any of your projects (), or from any experiment in the current project (), or you may set which variables you wish to be recorded or change parameters for the current experiment (). In the latter filter you may also see what variables have been selected using the Please note: you can only set state variables or change parameters of an experiment when it is in DESIGN mode (orange circle). Experiments that have completed (green circle) cannot be modified, but you may clone them using the button in the Experiments tab.
For more information, see also the Geppetto Documentation.
Protocols#
For models with a pulseGenerator, a batch of experiments for a range of amplitudes can be generated using the Add & Run Protocol option in the Run menu.
Supported simulators#
Neuron on OSB, jNeuroML on OSB, and NetPyNE on OSB simulation options run on the OSB platform’s own server. Limitations on the size and duration of simulations apply.
Neuron on NSG and NetPyNE on NSG run on the Neuroscience Gateway Portal. NetPyNE on NSG simulations can be run on up to 256 processors.
Connect to Dropbox#
Simulation results in can be automatically sent to a Dropbox App folder, in HDF5 format.
To enable this, click the “Link Dropbox…” button in the Run Experiment dialog.
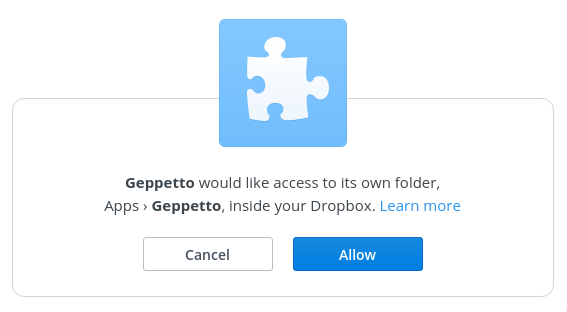
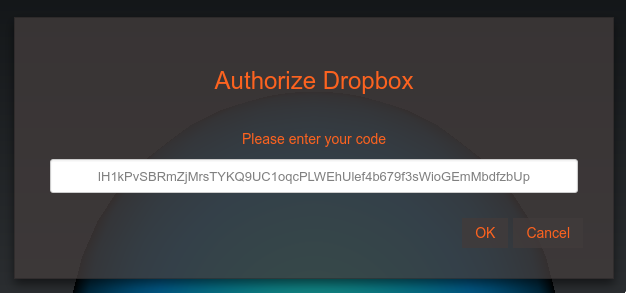
You will be asked to give Geppetto access to its own folder within Dropbox. Copy and paste the code into the dialog on OSB.
After completing this configuration, the “Upload results to Dropbox on completion” option will be checked by default in the run dialog, and results files should appear automatically in your Apps/Geppetto folder.